
An immaculate finish on your decorating projects doesn’t simply stem from choosing vibrant colours or premium quality materials.
A professional-looking finish often relies on subtle details, such as seamlessly sealing gaps and ensuring smooth transitions between walls, ceilings, and woodwork. That’s where understanding how to apply decorators’ caulk becomes pivotal.
This malleable material works wonders in perfecting your décor by filling gaps and cracks, providing a smooth surface that can be painted over for a flawless look.
Why is Learning How to Apply Decorators Caulk Essential?
Decorator caulk, or decorator’s caulk, is an indispensable tool in achieving those perfect corners and gaps that are hallmarks of professional decorating. This flexible filler is not only useful for concealing unsightly gaps but also assists in preventing dust accumulation and enhancing the overall visual appeal of a space.
Expertly applying decorators’ caulk ensures longevity in the appearance and maintenance of your walls and fixtures, safeguarding your aesthetic efforts from wear and tear.
Preparing The Area Before Caulking
Before you immerse yourself in learning how to apply decorator caulk, preparation of the area is paramount. Start by ensuring that the area to be caulked is clean, dry, and free from any old paint or filler.
Remove any existing caulk with a scraper or a specialised caulk remover, and safeguard adjacent areas with masking tape to ensure a clean, precise application.
Tip
Always prioritise safety by ensuring that the space is well-ventilated and that you’re equipped with necessary protective gear like gloves and safety glasses.
The Step-by-Step Guide on How to Apply Decorators Caulk
Step 1: Choosing the Right Caulk
Selecting a quality caulk is crucial for optimal results. While there are various brands and types available, choosing a paintable, flexible, and durable caulk will stand you in good stead for a polished outcome.
Step 2: Cutting the Caulk Tube
Cut the tip of your caulk tube at a 45-degree angle to ensure smooth application. The opening size should be commensurate with the size of the gap you’re filling to avoid excess application.
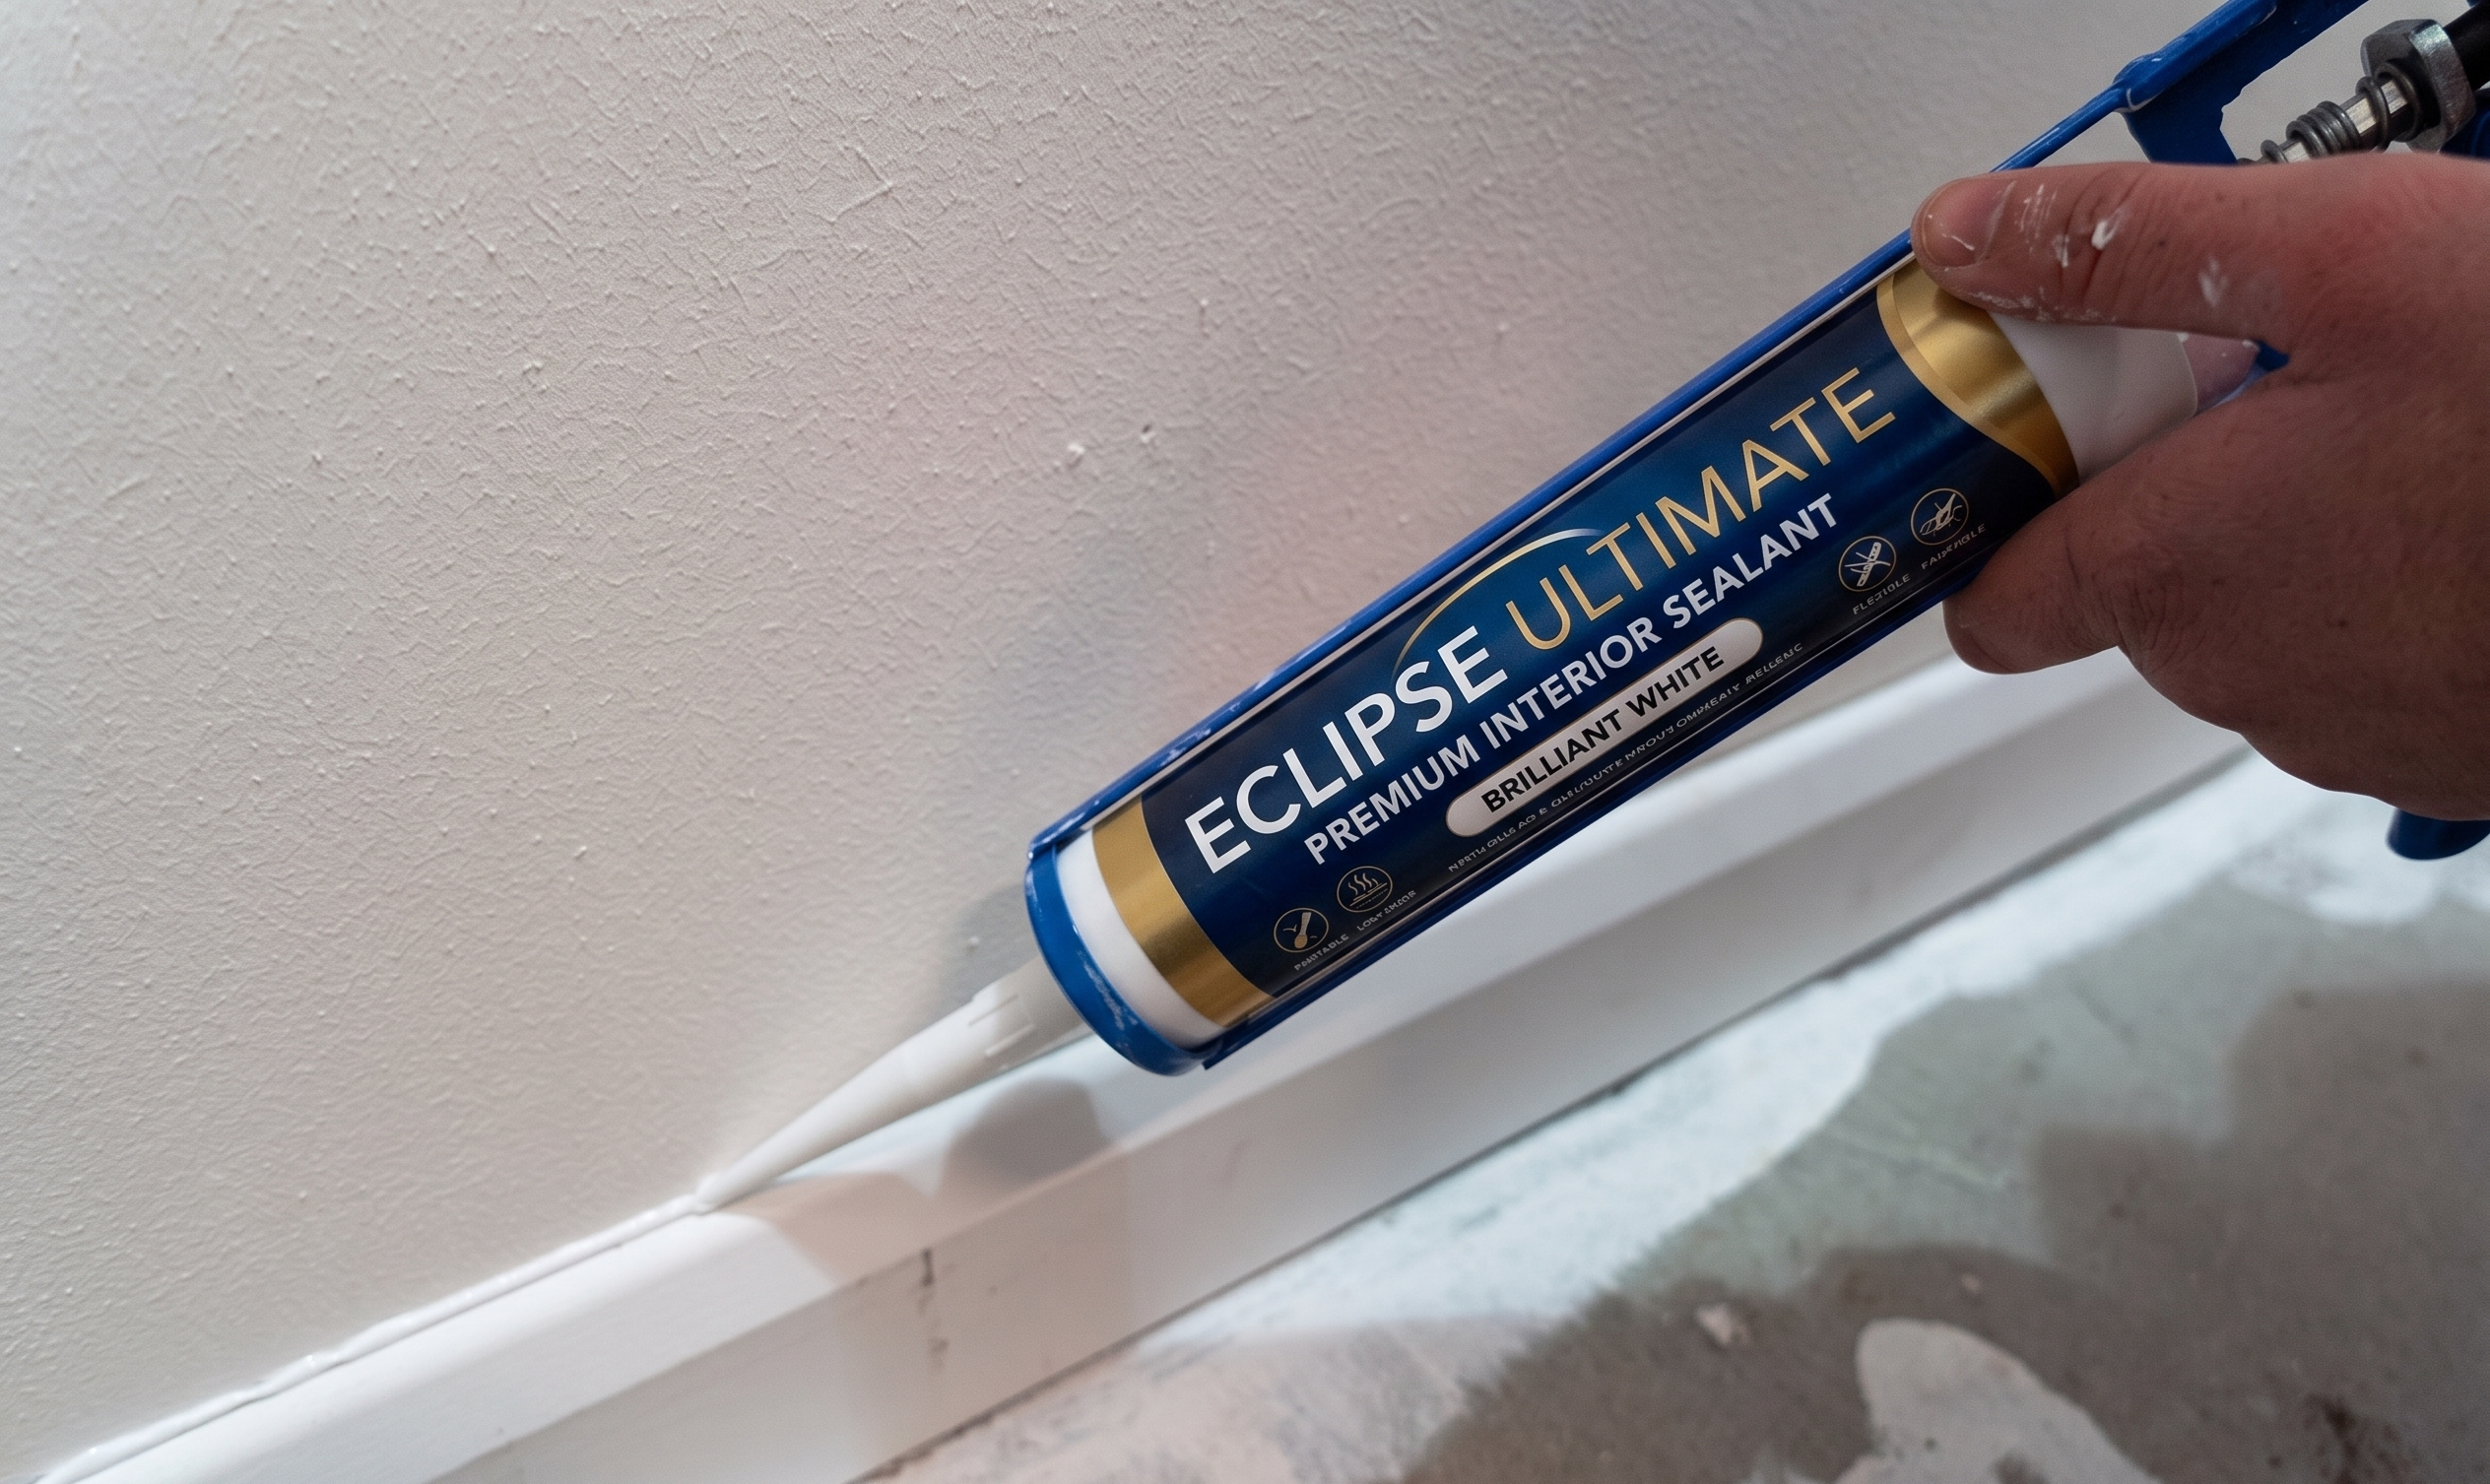
Step 3: Applying the Caulk
Position the caulk gun at the start of the gap and steadily squeeze the trigger, drawing it along in a smooth, controlled motion. Ensure the caulk fills the gap uniformly without air pockets.
Step 4: Smoothing the Caulk
Using a caulk smoothing tool or a damp finger, gently smooth the caulk into the gap, ensuring it forms a neat seal. Remove the masking tape while the caulk is still wet to ensure clean lines.
Step 5: Allow Adequate Drying Time
Refer to your caulk’s instructions for drying times and avoid any disturbance or painting until it is fully cured.
Conclusion
Learning how to apply decorator caulk is not merely an add-on skill for a DIY enthusiast but a requisite for anyone keen on preserving the aesthetic integrity of their space.
Implementing a meticulous caulking process ensures that the décor, once applied, remains robust and visually appealing, providing a seamless backdrop to your beautiful designs and vibrant colours. So, grab your caulk gun and let the transformation begin!